Make

Introduction - Pulp it
This is the simple and fun part, it is time to make some paper object! This can be a messy process so make sure you are somewhere that is easy to mop up water, and you keep the electrics away from any spillages.
PART 1
Tools & Materials
Materials
- Scrap cardboard or paper
- Water
- 200mm square of nylon mesh (fairy fabric)
Tools
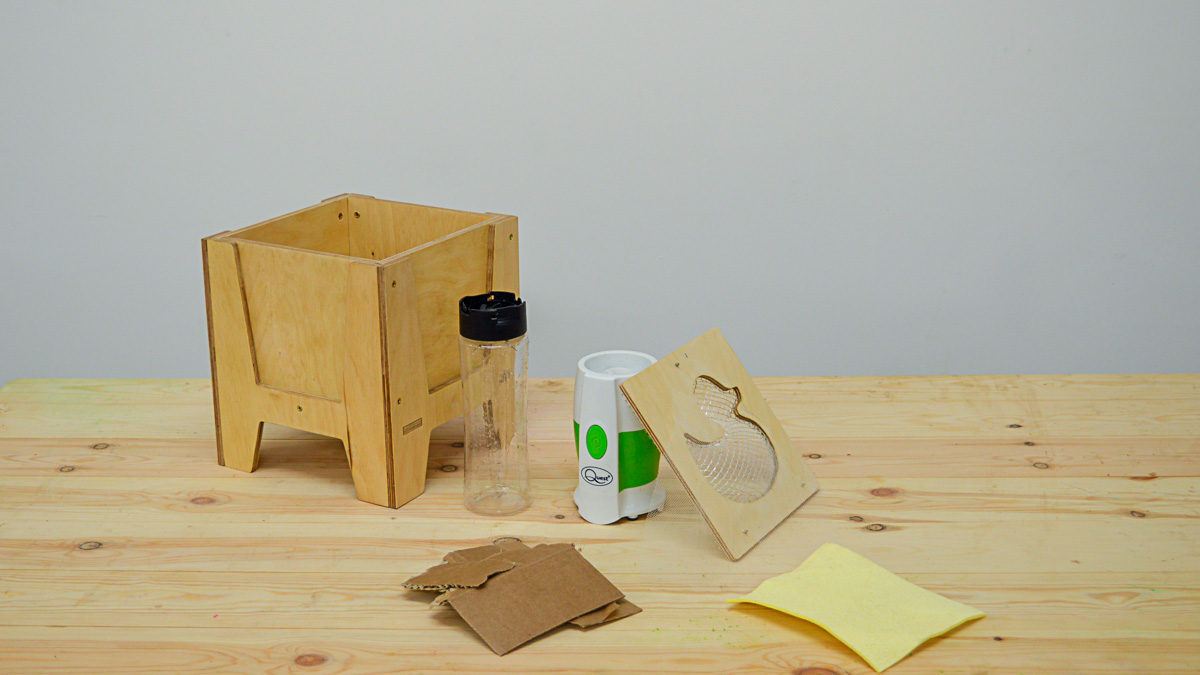
- The FORMiT tool
- Your Mould
- A wet and dry vacuum
- A hand blender
- Sponges
- Two 1ltr jugs
PART 2
Mixing the paper
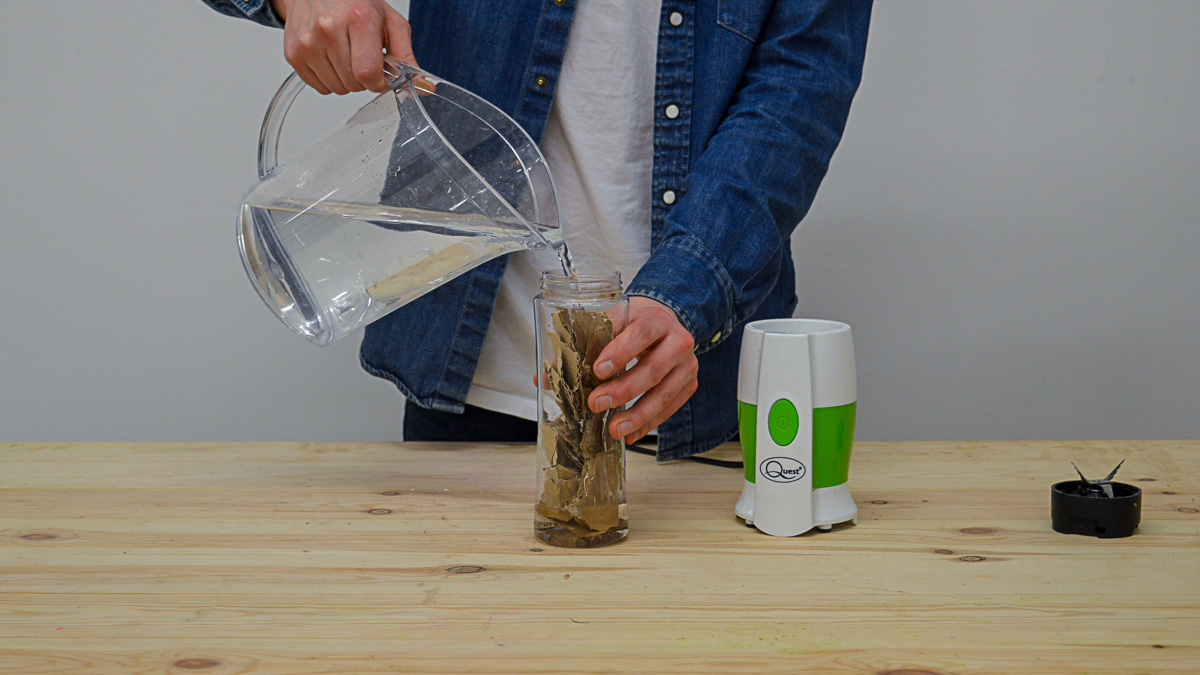
Start by making your paper pulp material; this consists of a small handful of ripped up paper/cardboard mixed with 500ml of warm water. This mix isn’t exact but make sure your blender can handle however much you to choose to use.
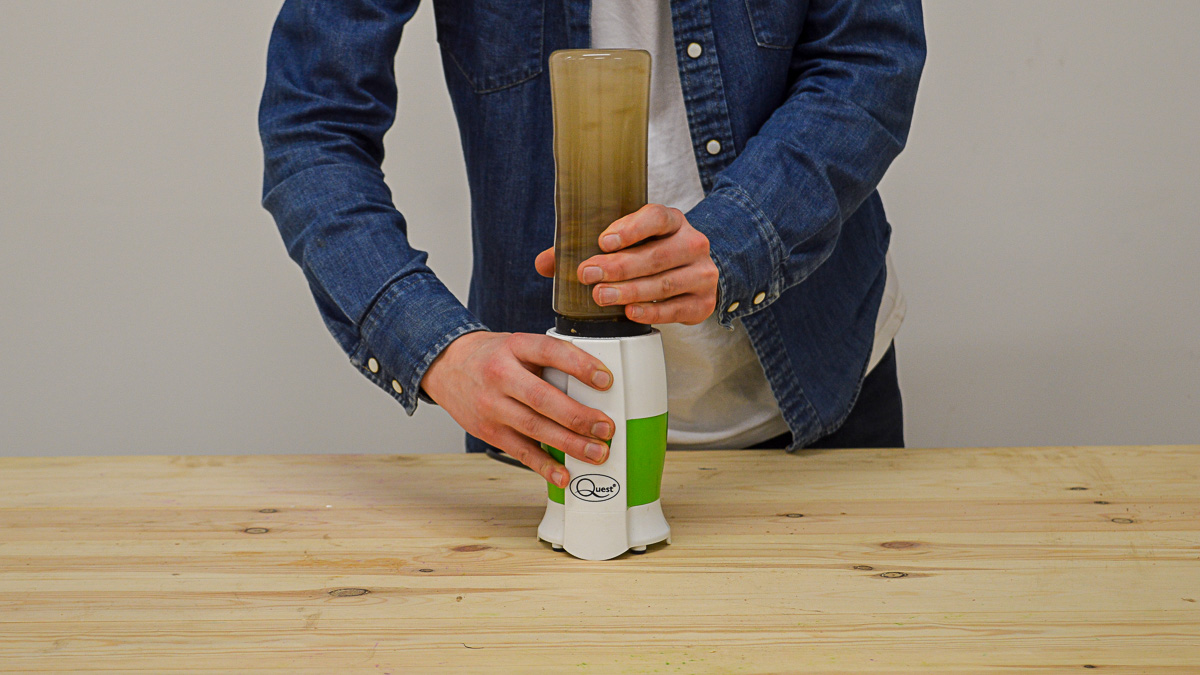
Blend up you mix, this should only need 5-10 minutes. To make this step easier the paper can be soaked for a few hours before blending. The finer you blend the mix, the smoother the finish of your end formed pieces will be.
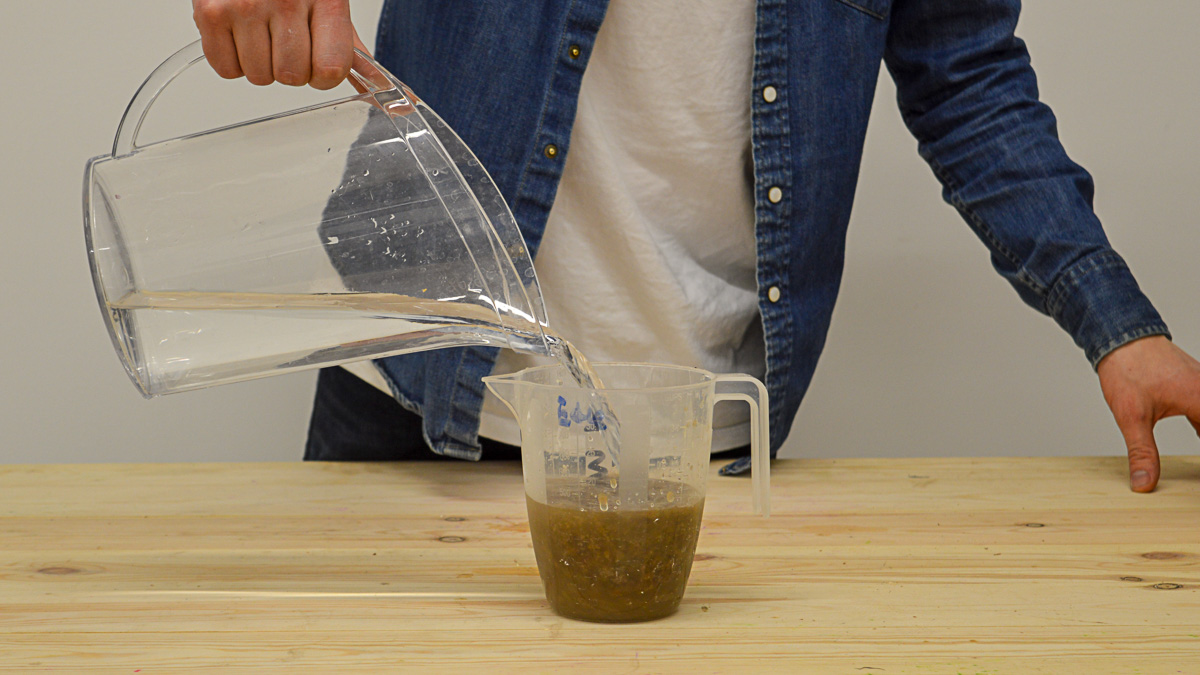
Dilute the paper mix 1:1 with water; you are looking to make a mix that is easy to pour from a jug.
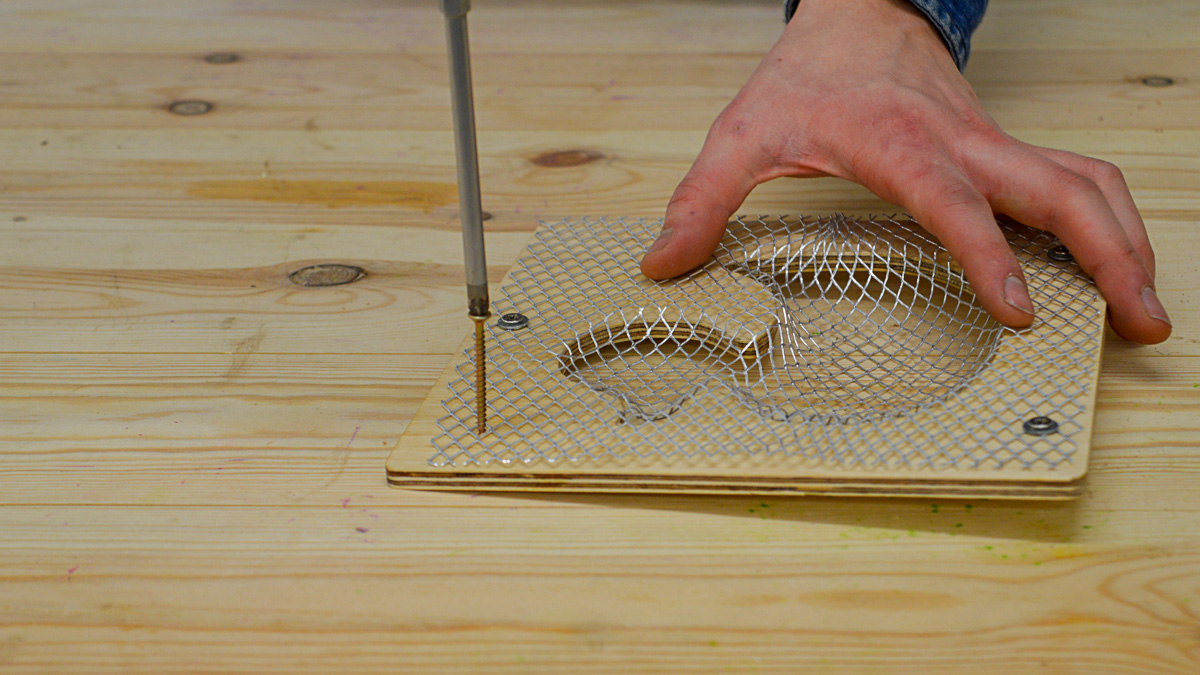
Now take your mould; we are using the duck mould made in the previous instructions. Add a small screw in the corner of the mould, this acts as a handle and should be easy to take out.

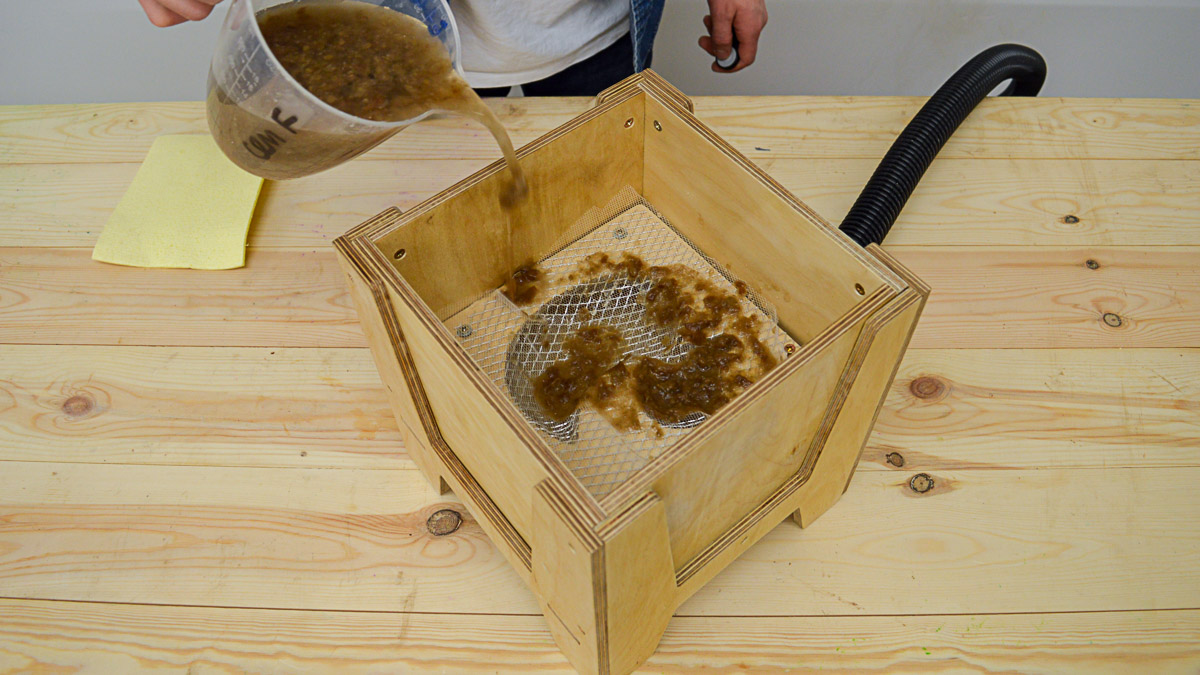
Place the mould inside the FORMiT tool and add the nylon mesh square over the top. This mesh is for collecting the paper fibres onto and helps the pieces to keep their structure while they dry.
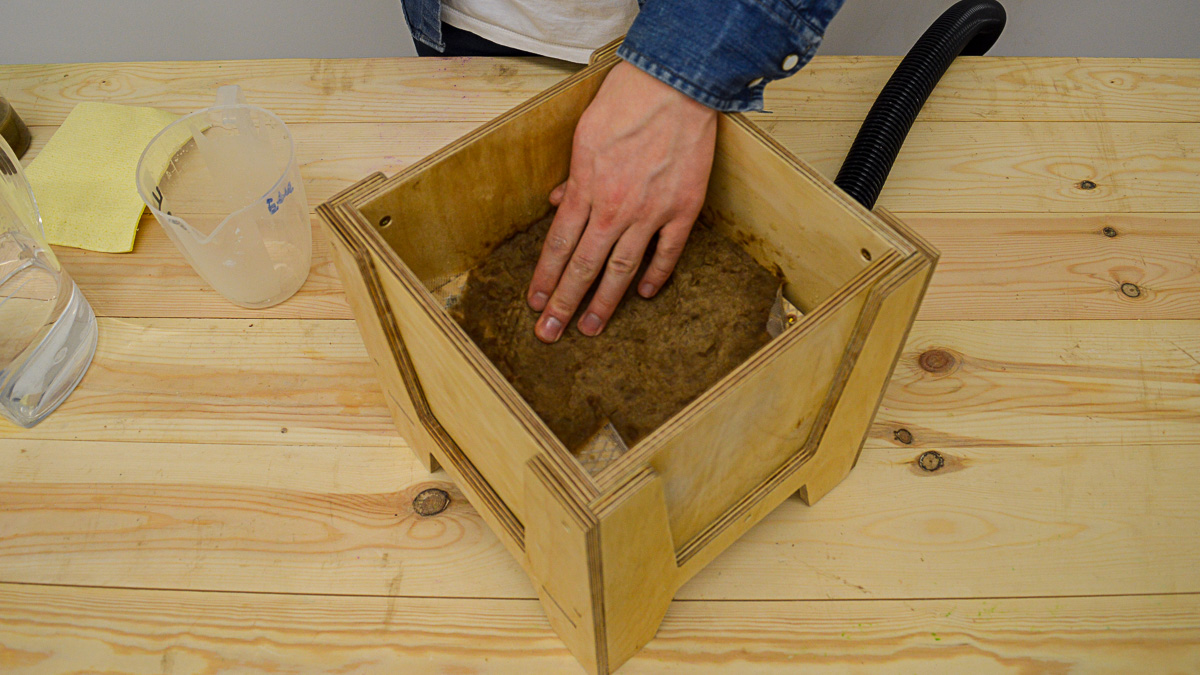
Connect the wet and dry vacuum to the pipe on the bottom of the FORMiT tool and turn it on. Start to gently pour the paper pulp over the mould and make sure to evenly cover all of it. As you cover the mould the pressure under will increase and change the sound of the vacuum, which is nothing to worry about!
Once of all the mould is covered leave the vacuum running for a minute or so. Use your hands to push the paper against the mould and even out the internal finish. The suction will pull most of the water out of the pulp and you should see the pulp become lighter in colour. Now turn the vacuum off.
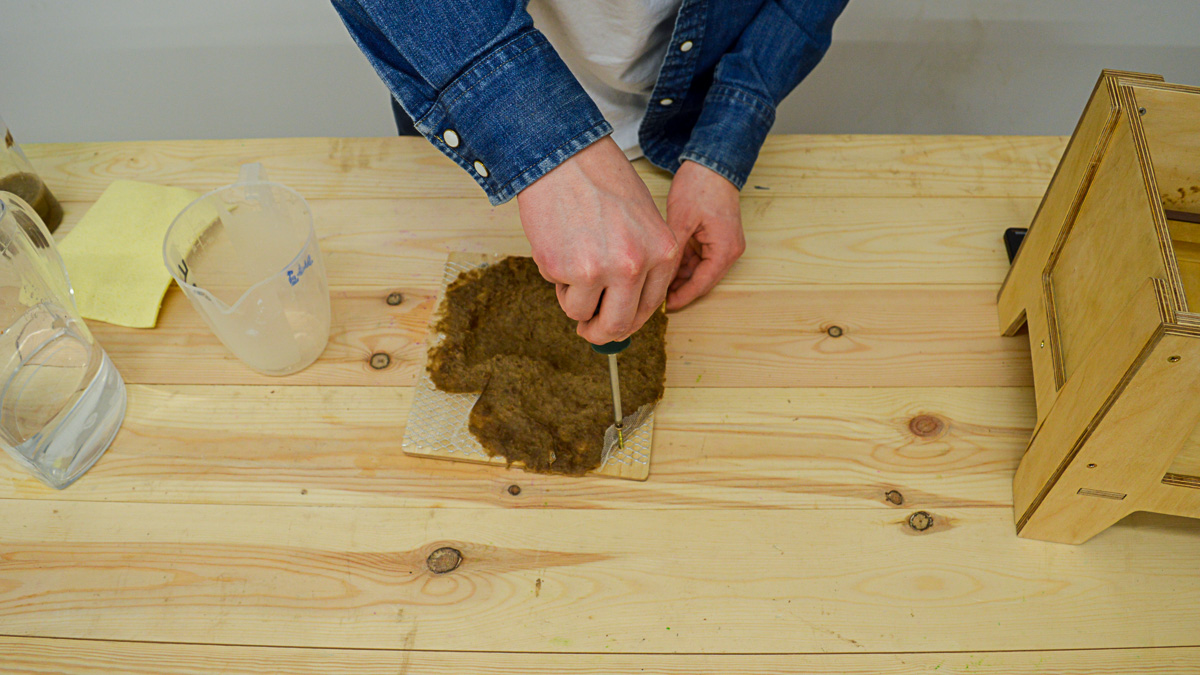
Use the screw in the corner of the mould to pull it out of the tool. Once the mould is out of the tool undo the screw handle.
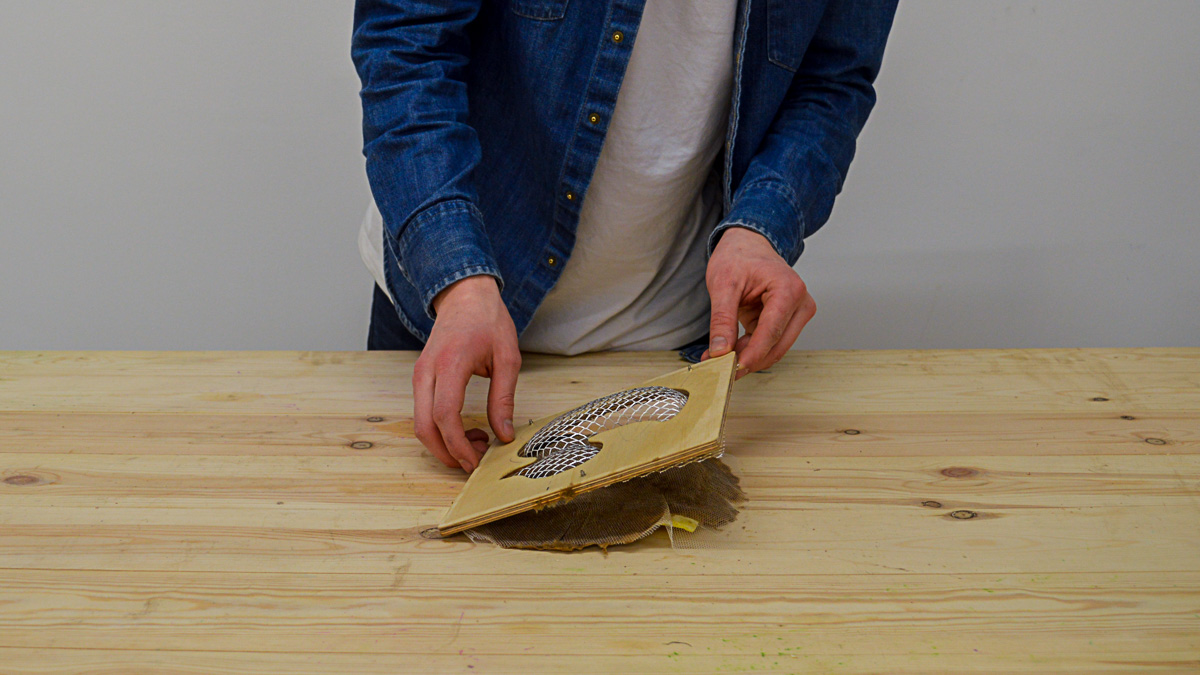
Flip the mould over, face down onto a piece of card, sponge or wood. Tap the back of the mould until the pulped piece comes out.
Leave your pulped object to dry, at room temperature this will do so overnight. However, this can be sped up in a warm room, airing cupboard or in the sun.
PART 3
Finishing
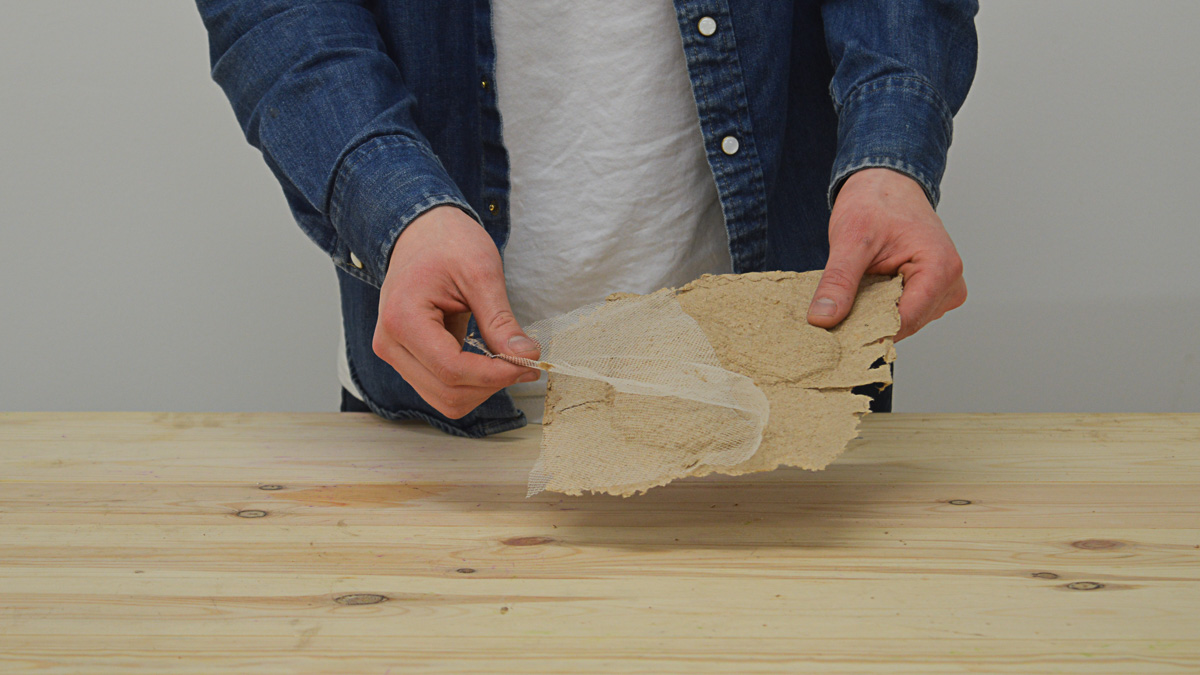
Once your object is dry, the nylon mesh can be pulled off. This will leave you with a strong paper object ready to cut it out, paint, hang up or if you don’t like it, blend it and start again!